I’m writing this article because I need to take screenshots for my posts—simple as that. After experimenting, I’ve found the easiest way to capture screenshots on the Steam Deck while using Nested Desktop Mode. Here’s my simple three-step setup:
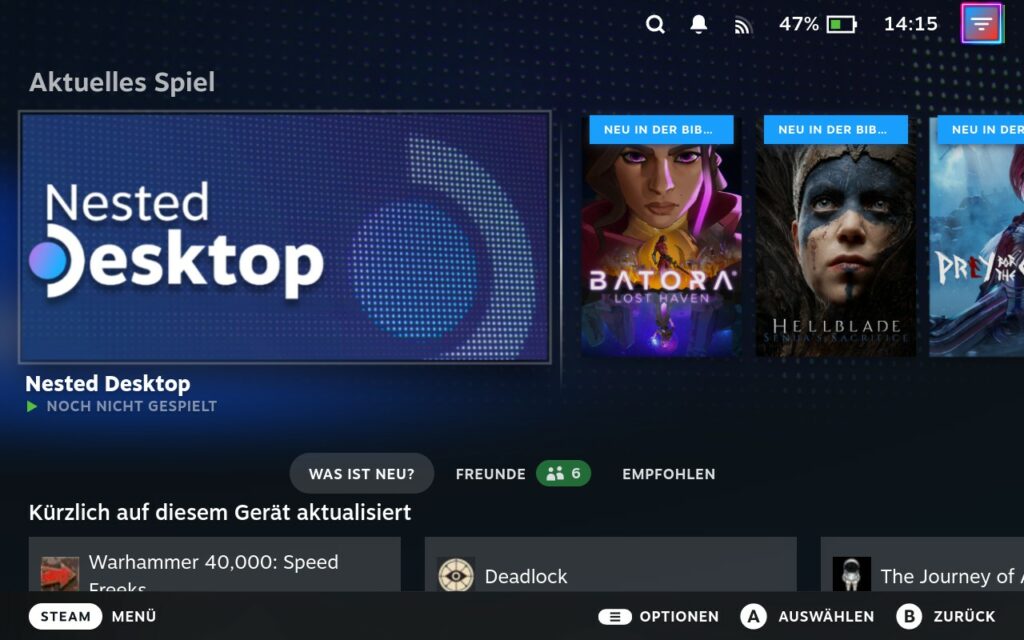
Step 1: Set Up Nested Desktop
Nested Desktop lets you easily switch between Gaming Mode and Desktop Mode without restarting the system. To enable it:
- In Desktop Mode, search for “Nested Desktop” and add it to your Steam library.
- Once added, you can access it directly from Gaming Mode.
For a detailed guide on setting up and using Nested Desktop, check out How to Use Nested Desktop in Game Mode on Steam Deck.
Step 2: Install Shotty: Local Screenshot Aggregator
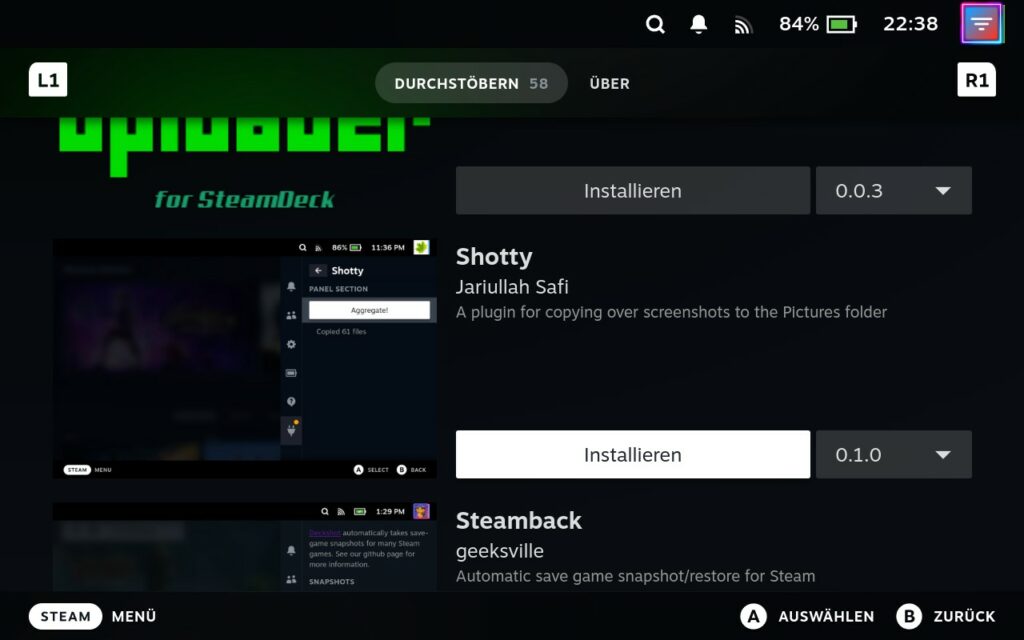
To manage your screenshots, use Shotty, a plugin that automatically collects and organizes all screenshots into a single folder (~/Pictures/Screenshots).
- How to install: Use the Decky Loader to install Shotty from its plugin store.
- Why it’s great: It organizes your screenshots without extra effort by creating hardlinks, which don’t take up additional space.
Step 3: Access Nested Desktop from Game Mode
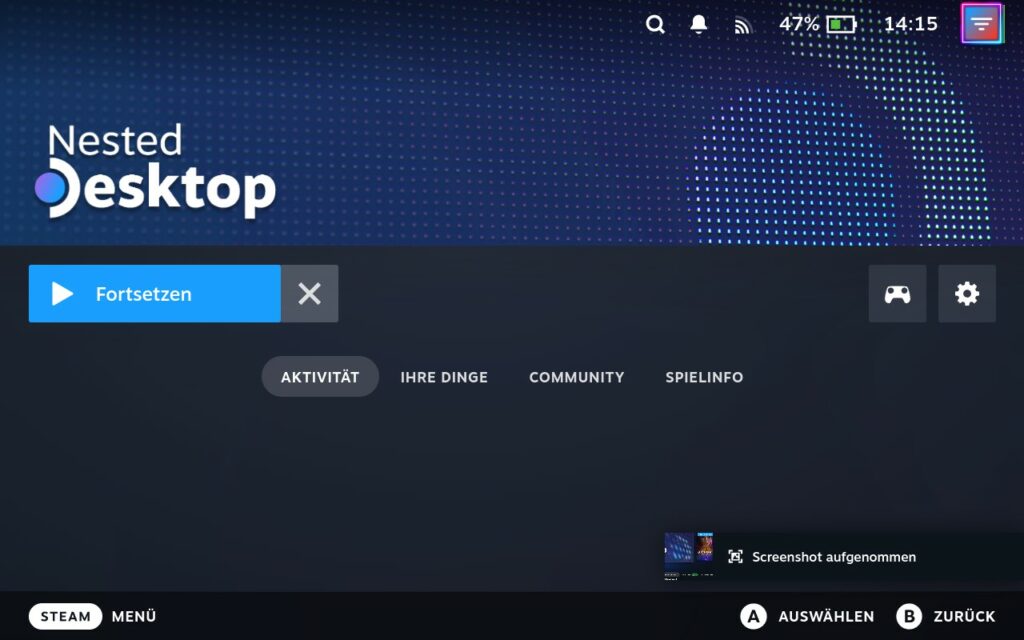
Now that everything is set up, use Nested Desktop directly from Gaming Mode to switch to Desktop Mode and take screenshots without exiting Gaming Mode.
- To capture a screenshot, press Steam + R1—simple and quick.
How to Locate Your Screenshots
Once you’ve taken your screenshots, finding them is straightforward:
- Steam + R1 screenshots are stored in your Steam Library under the game’s media section.
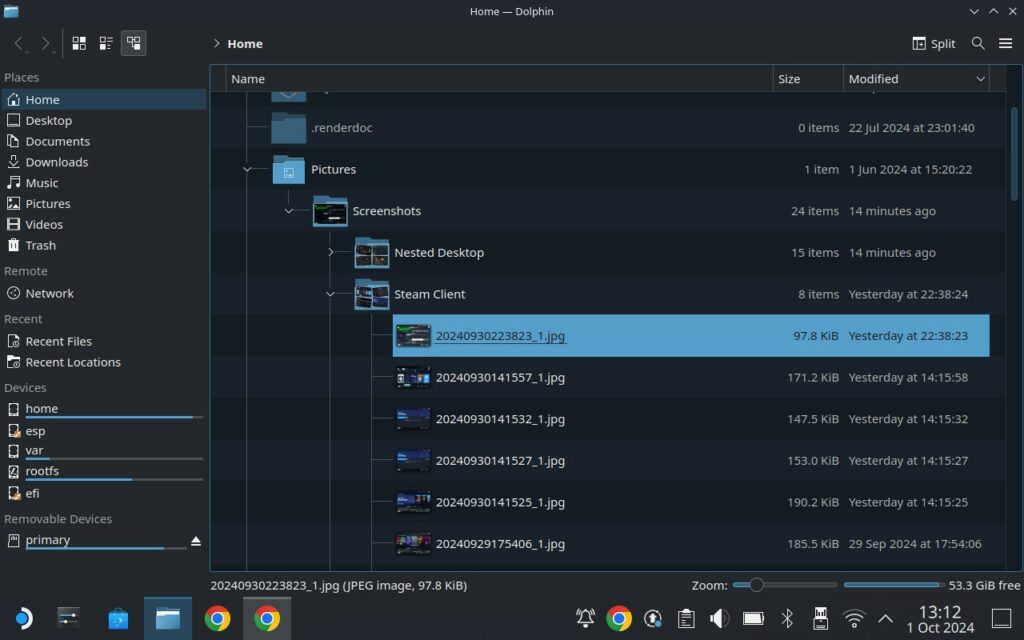
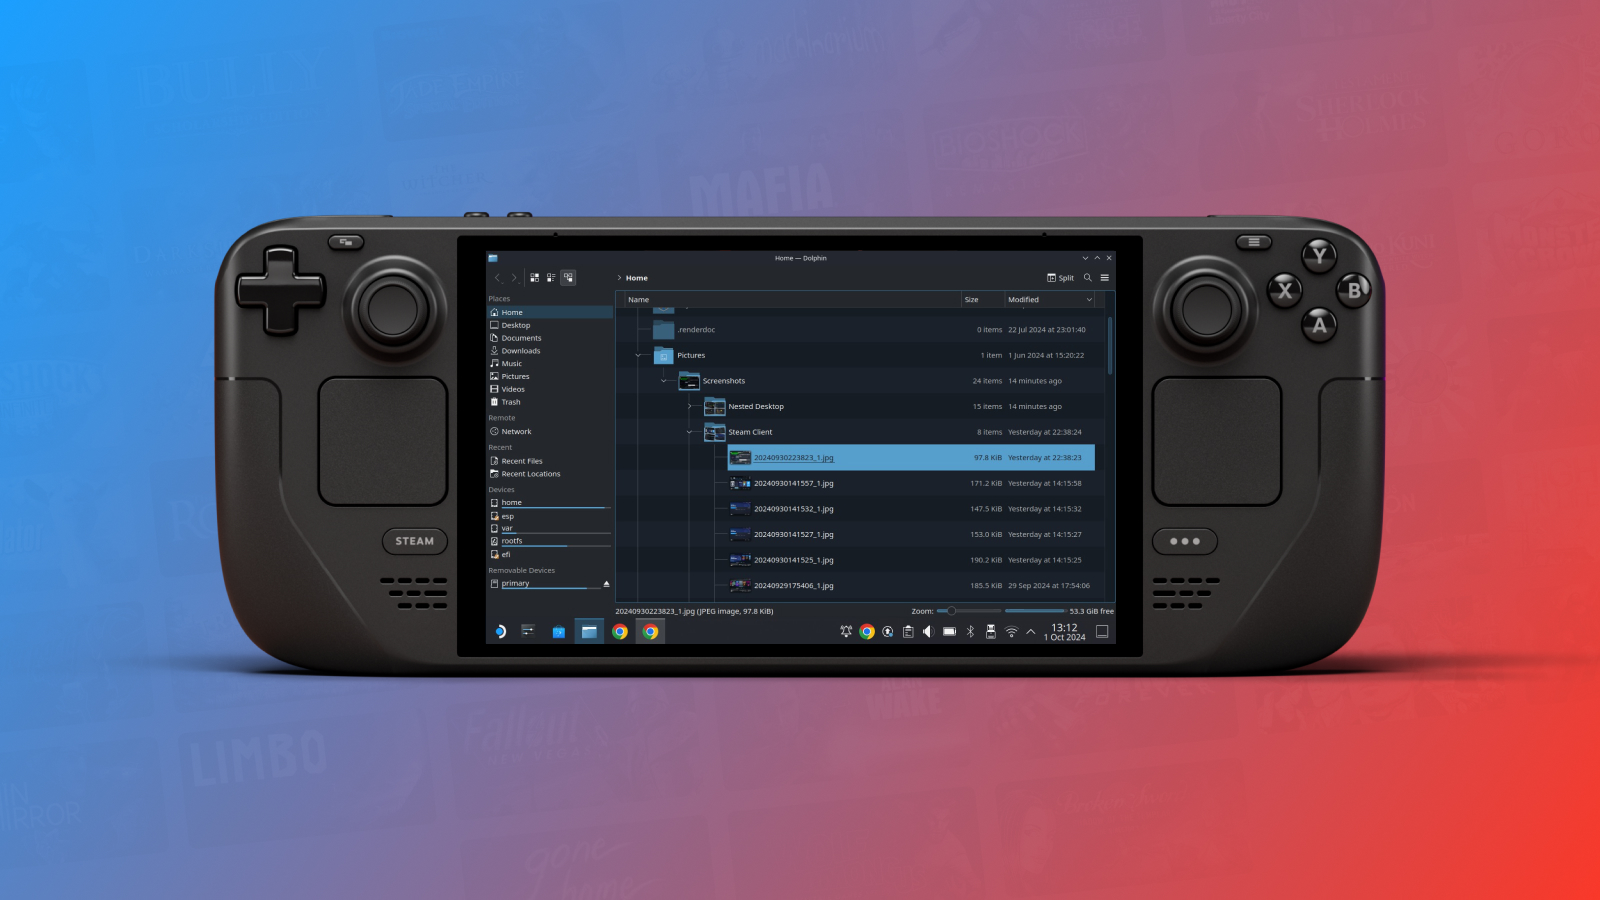
- Shotty-managed screenshots can be found in
~/Pictures/Screenshots. Shotty automatically organizes them into folders by game or app.
You can access this folder through the File Explorer in Desktop Mode
Did I miss anything? Let me know in the comments if this guide was helpful! I’d love to hear about your experience with taking screenshots on the Steam Deck, and feel free to share any tips you’ve got for making the process even faster.


Leave a Reply