Nested Desktop is a handy feature on the Steam Deck that lets you switch between Gaming Mode and Desktop Mode without the usual hassle of rebooting. This guide walks you through how to set it up and use it efficiently.
Step 1: Install Nested Desktop
- Boot into Desktop Mode on your Steam Deck.
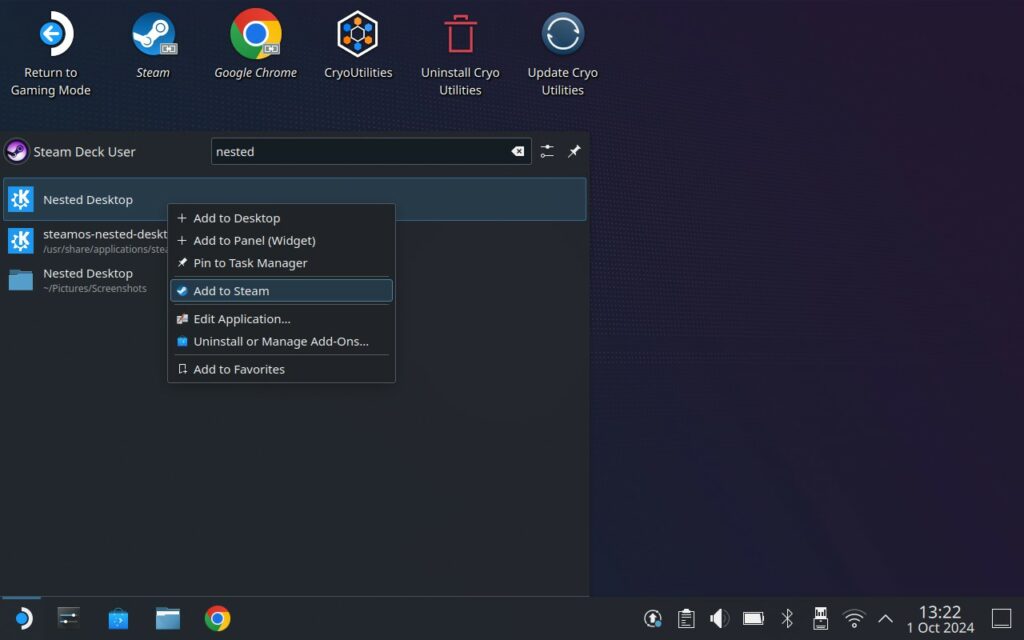
- Open the application launcher and search for Nested Desktop.
- Once you find it, right-click and choose “Add to Steam” to make it available in Gaming Mode.

Step 2: Access Nested Desktop from Gaming Mode
Once added, head back to Gaming Mode:
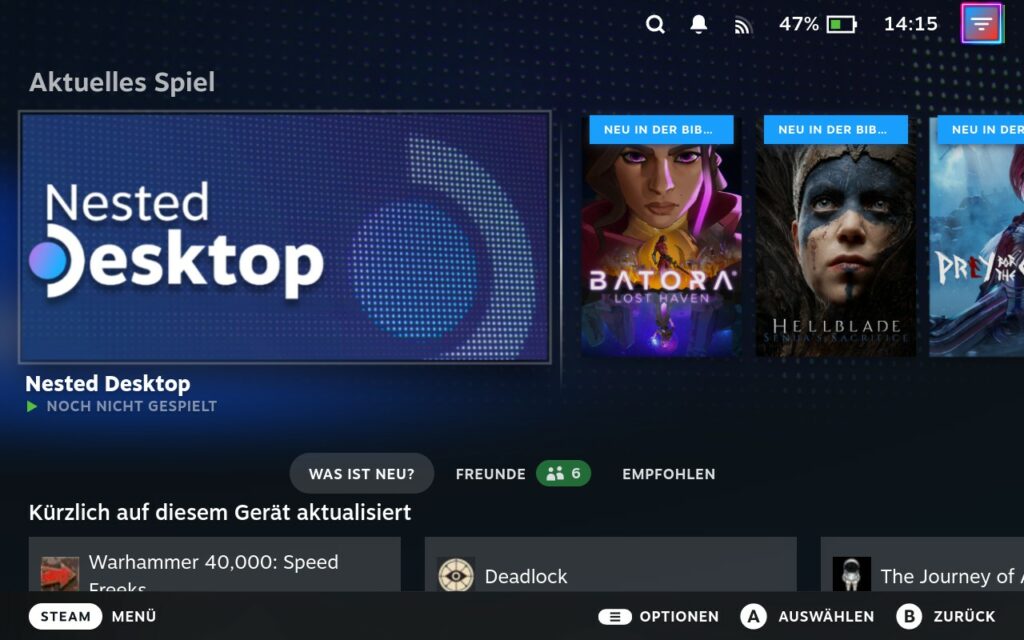
- Open your Steam Library and look under “Non-Steam Games.”
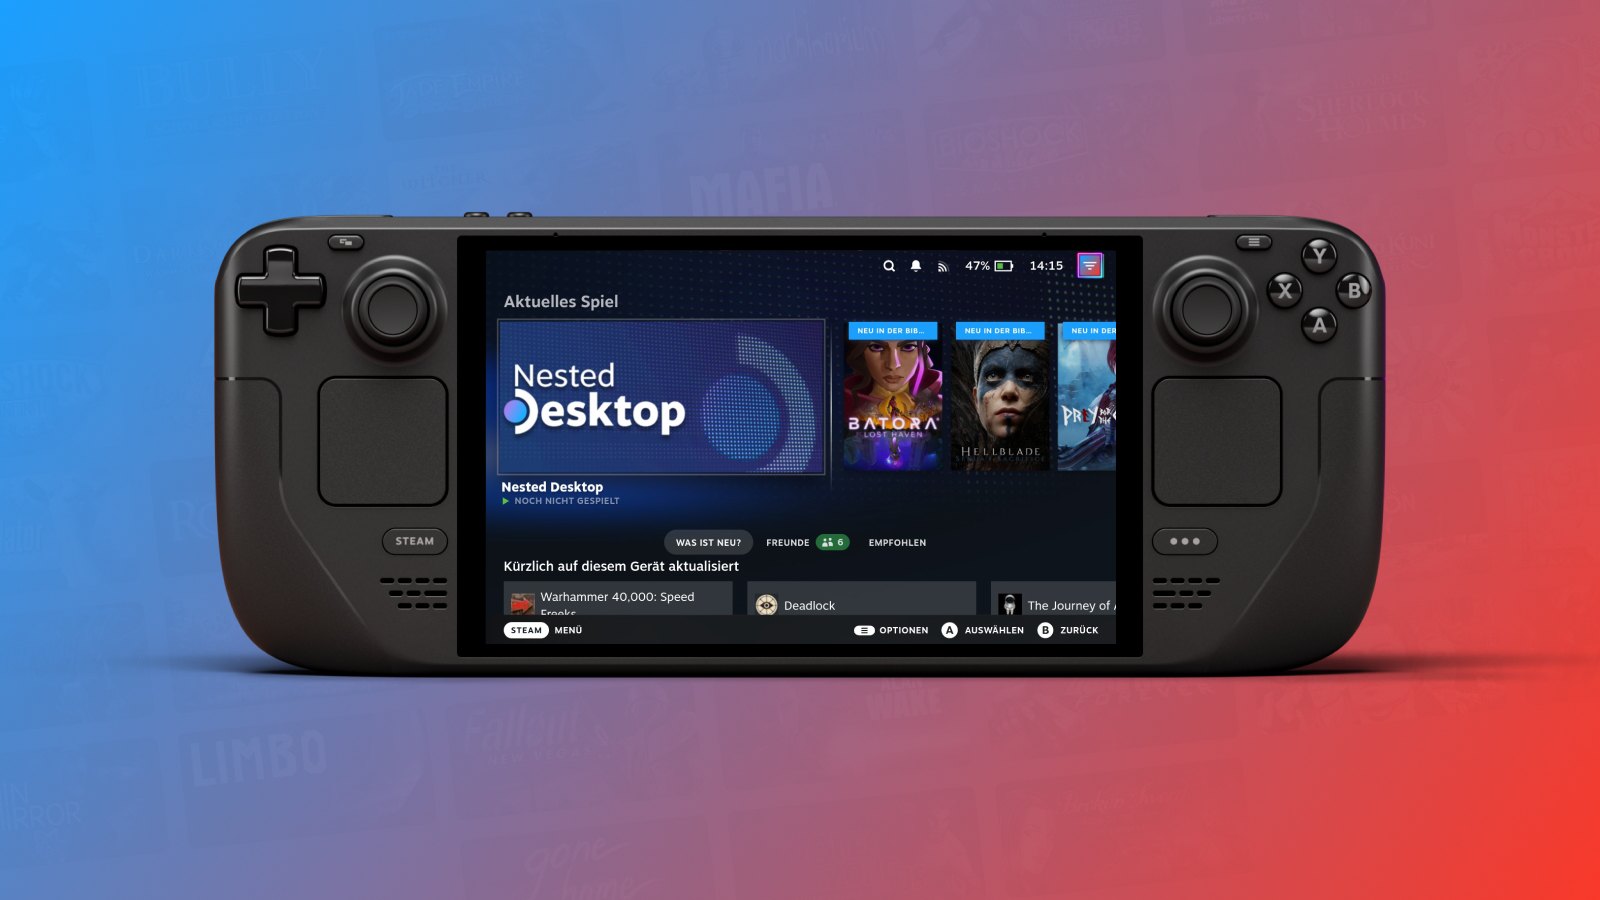
- You’ll see Nested Desktop listed there—just launch it to access Desktop Mode directly from Gaming Mode without restarting.
This makes it incredibly convenient to switch between modes when you need to adjust settings, install software, or browse files, and then quickly return to gaming.

Customizing Nested Desktop with Artwork
For a nicer visual touch, you can add custom artwork to Nested Desktop using the SteamGridDB DeckyLoader Plugin. Here’s how to do it:
- Install Decky Loader: If you don’t have it yet, install Decky Loader from its GitHub page.
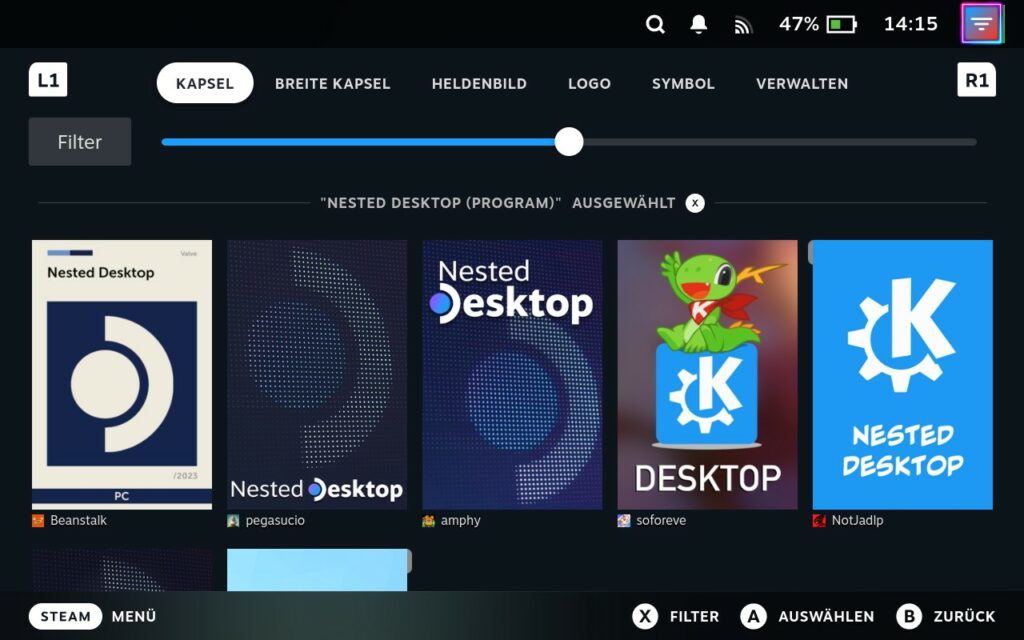
- Install SteamGridDB: Once Decky Loader is installed, search for the SteamGridDB plugin.
- Add Custom Artwork: Use SteamGridDB to browse and select custom artwork for your Nested Desktop entry in your Steam Library. This will give it a unique icon and banner, making it look more polished in your game library.

Wrapping Up
With Nested Desktop, you can quickly hop between Gaming Mode and Desktop Mode on the Steam Deck without needing to reboot. Plus, with custom artwork, you can personalize the experience even further.
Did I miss anything? Let me know in the comments if this guide was helpful! I’d love to hear about your setup or any tips for enhancing the process even further.


Leave a Reply